Transforming Your Bathroom Into a Darkroom with Rowan Renee
Ten years ago when I started to learn photography, I skipped over digital, and even analog film. I went straight back to the beginning of photographic technology, to the Wet Plate Collodion process. Early photography made the science of image-making – a chemical reaction with light – into a DIY process that could happen at home in a make-shift lab, or in a portable darkroom that could be carried with you up a mountain, or wherever you went to make images. One of my very first darkrooms was built into a large cardboard box. This accessible approach to photography was something I carried with me as I moved forward in time, learning traditional darkroom processes with modern film and paper.
Since many of us are adapting to working from home, without the tools we normally work with, the spirit of resourcefulness I learned from early photography has inspired this post about how to retrofit your bathroom to create experimental photographic prints at home using common photographic supplies that you can buy online.
There are a couple important ideas to understand before we start talking about the nitty-gritty.
First: your home darkroom does not have to be totally dark. Only certain kinds of very light-sensitive materials, like color photo paper or black and white film, require total darkness. For this project, we will work with ortho-chromatic photo paper that is designed to be used in dim red-to-amber light. You will still have to eliminate major cracks or sources of light, but small pinholes are probably not going to affect this paper.
Second, we are eliminating the photo-enlarger, which is a piece of equipment many of us don't have access to at home. Instead I'm using a product called direct-positive photo paper. This uses the same B&W paper chemistry you would use for processing enlarged prints, but eliminates the need for a negative. You can use this paper for camera-less printing, such as contact printing or photograms. Or, you can use it in a camera. If you have access to a large-format camera, you can put it in the film holder as you would a normal piece of sheet film. Or, you can cut the paper down to a small size to put in a 35mm or medium format camera. If you don't have access to a film camera, you can make a pinhole camera in a matchbox, an oatmeal box, or any other light-tight container you might have around the house. Harman, the paper manufacturer, offers a technical spec sheet that discusses many of these options and has all the info you will need to choose exposure times and mix your chemistry.
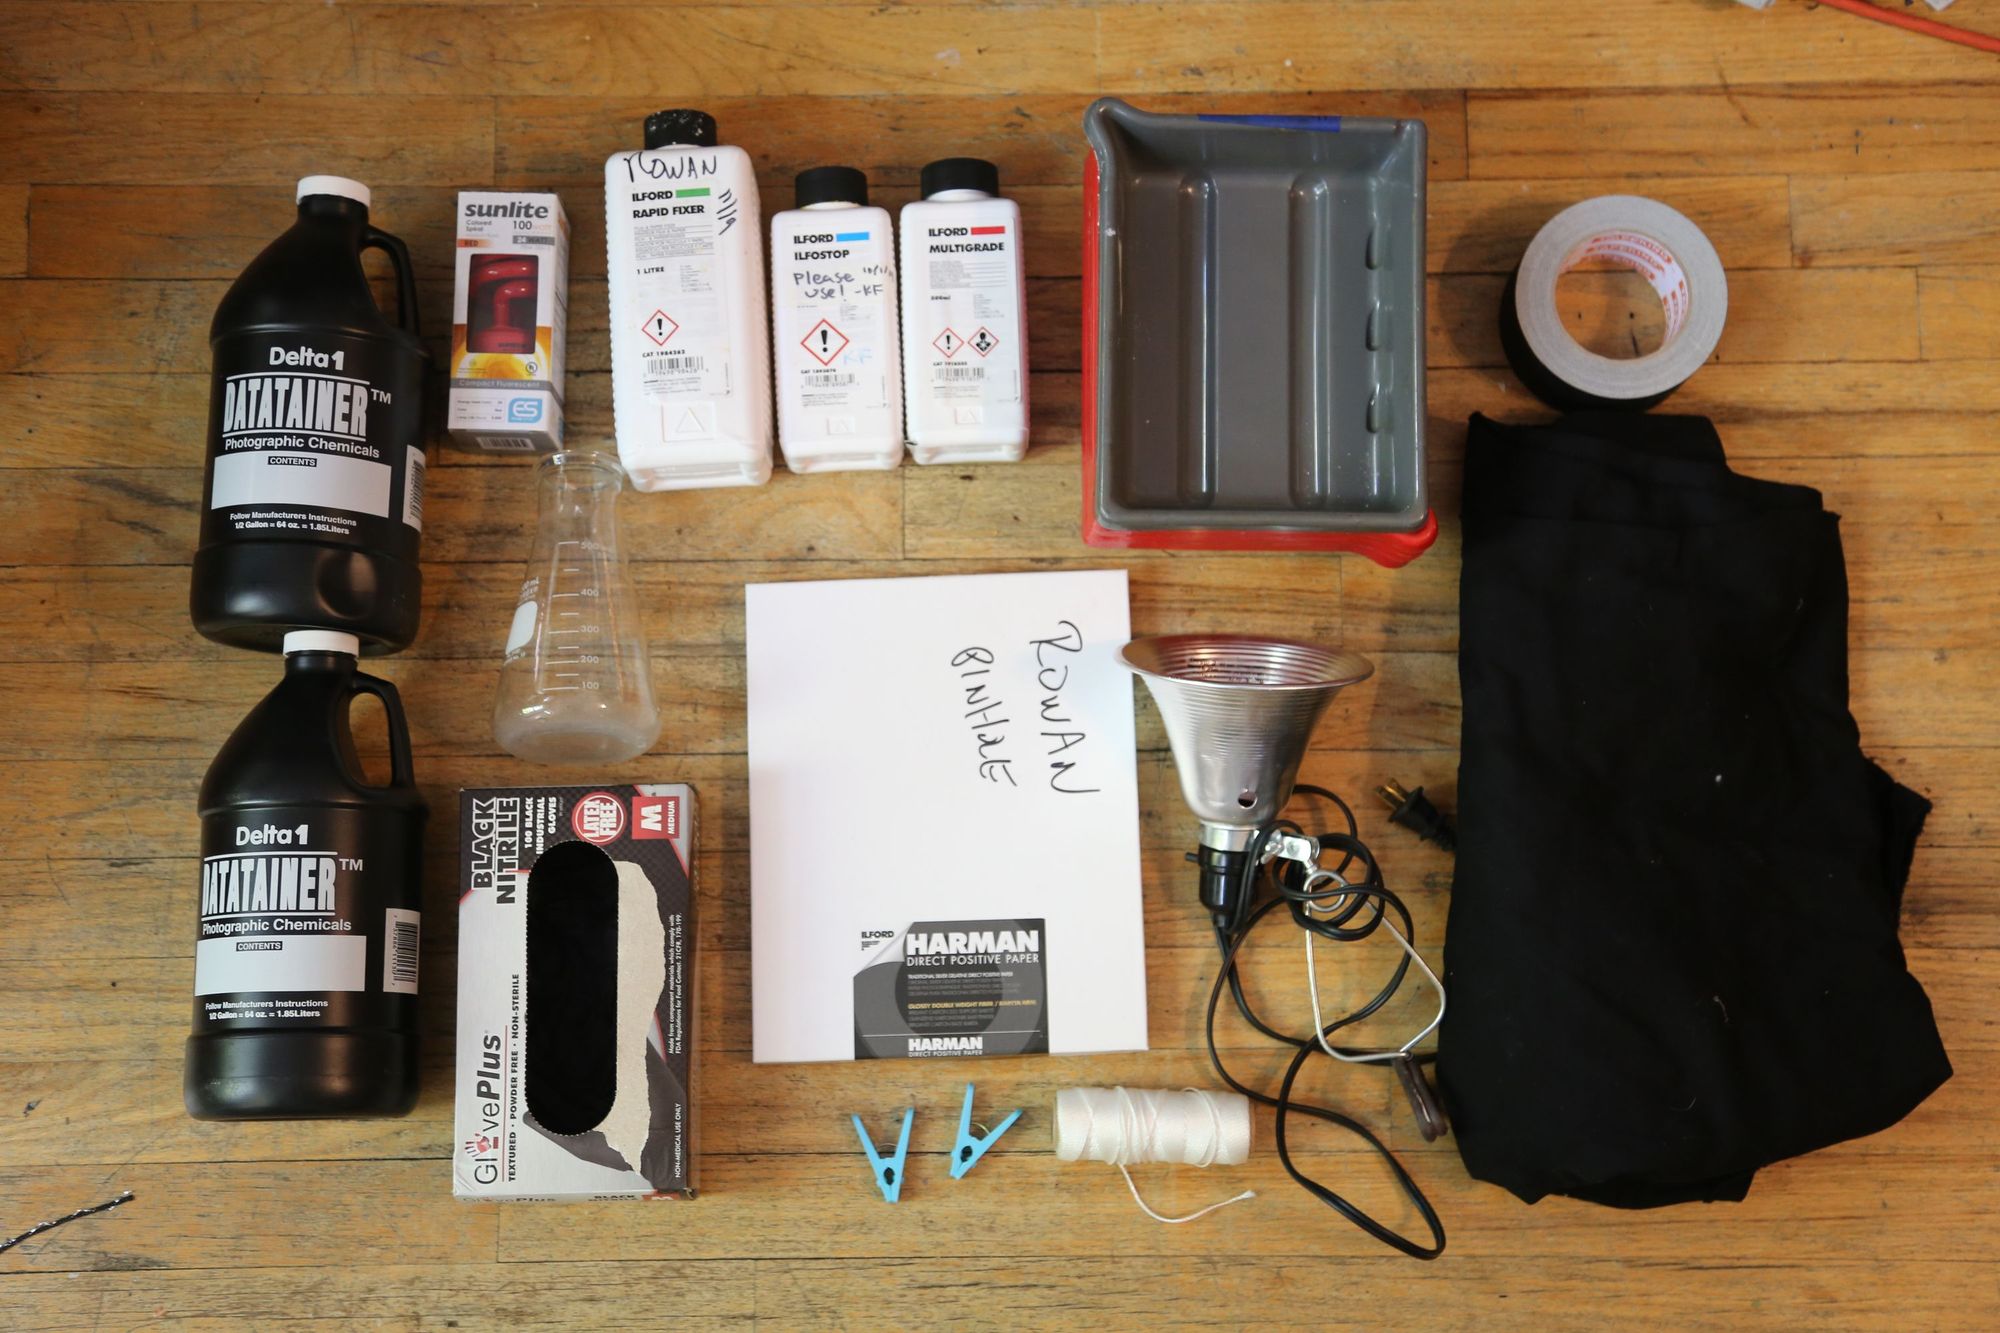
WHAT YOU NEED
- Harman Direct Positive Photo Paper, Fiber Based
- Ilford Multigrade Developer
- Ilfostop
- Ilford Rapid Fixer
- Darkroom Thermometer
- 5 Darkroom Trays the right size for your paper
- Enough Datatainer Storage Bottles to store your mixed chemistry
- Print Tongs
- Nitrile Gloves
- Beakers or measuring cup
- Clip light with Red Bulb
- String with film clips or clothespins
- Tape (gaffers or masking) and
- Black fabric, sheets or towels
HOW TO RETROFIT YOUR BATHROOM INTO A HOME DARKROOM
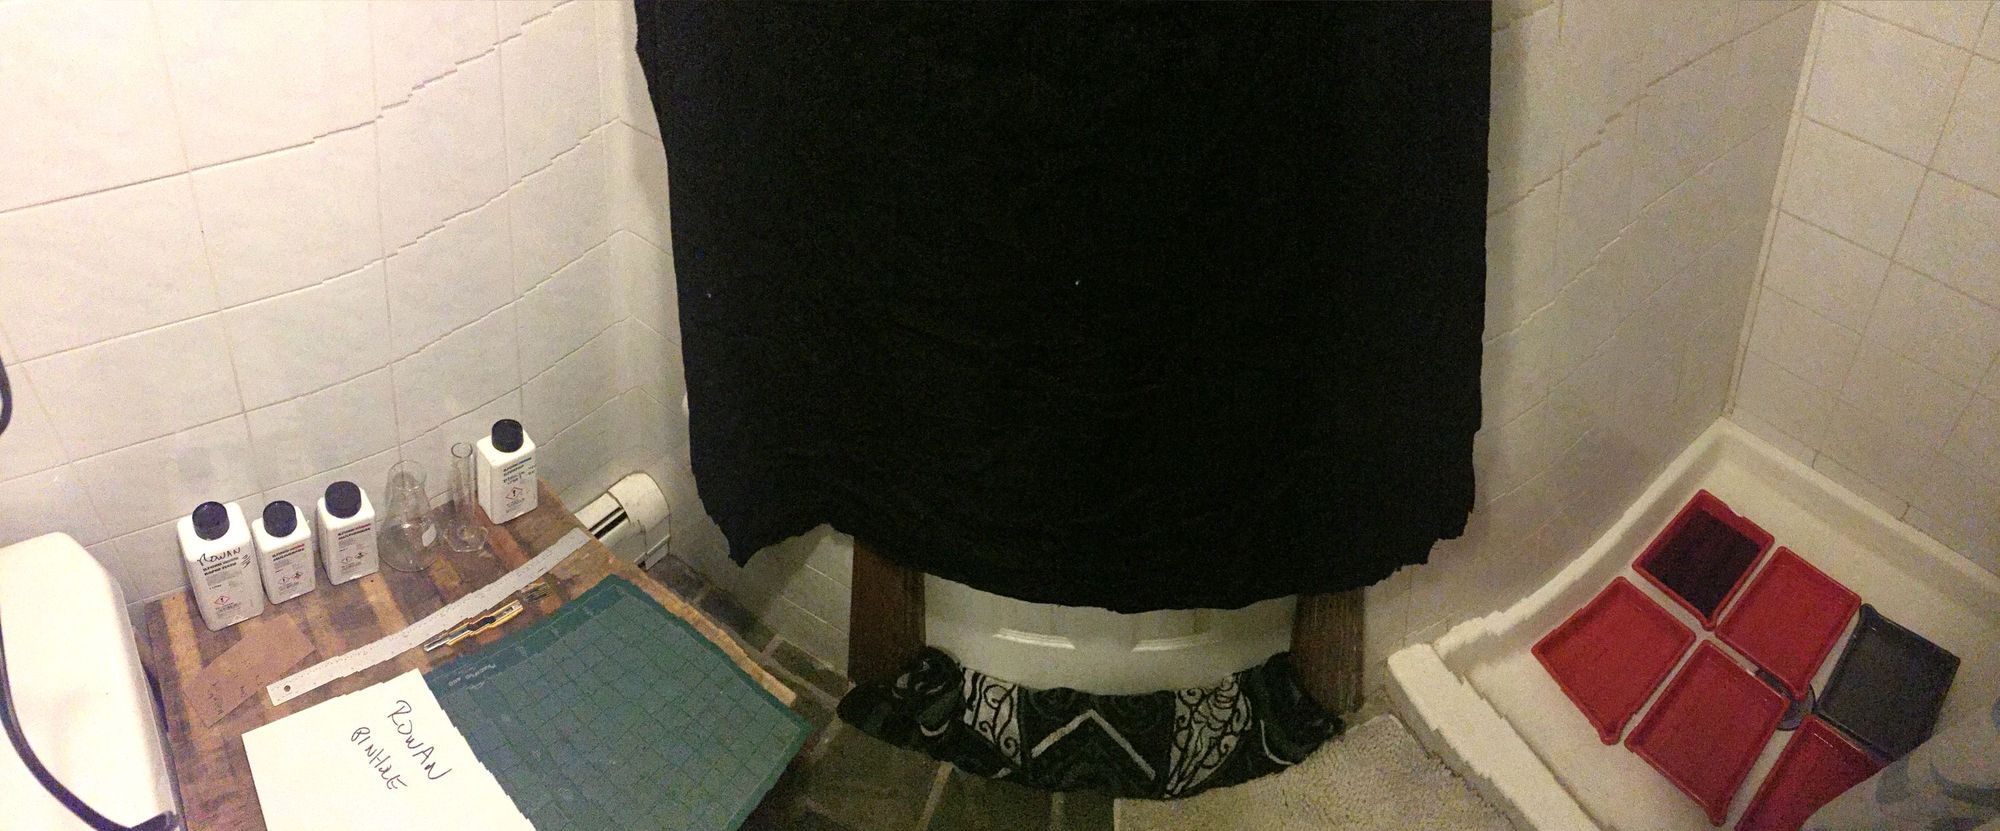
- Eliminate light leaks from your bathroom. If your bathroom has a window, you will need to cover it with a dense fabric that will eliminate most of the light. Gaffers tape is a great removable option for securing fabric while not damaging the wall itself. You also will want to eliminate the light leaks from around the bathroom door, especially the crack underneath. You can roll up a towel across the bottom, and hang a piece of black fabric across the whole door frame. If you can’t eliminate major light sources during the day, consider setting up your darkroom to work at night.
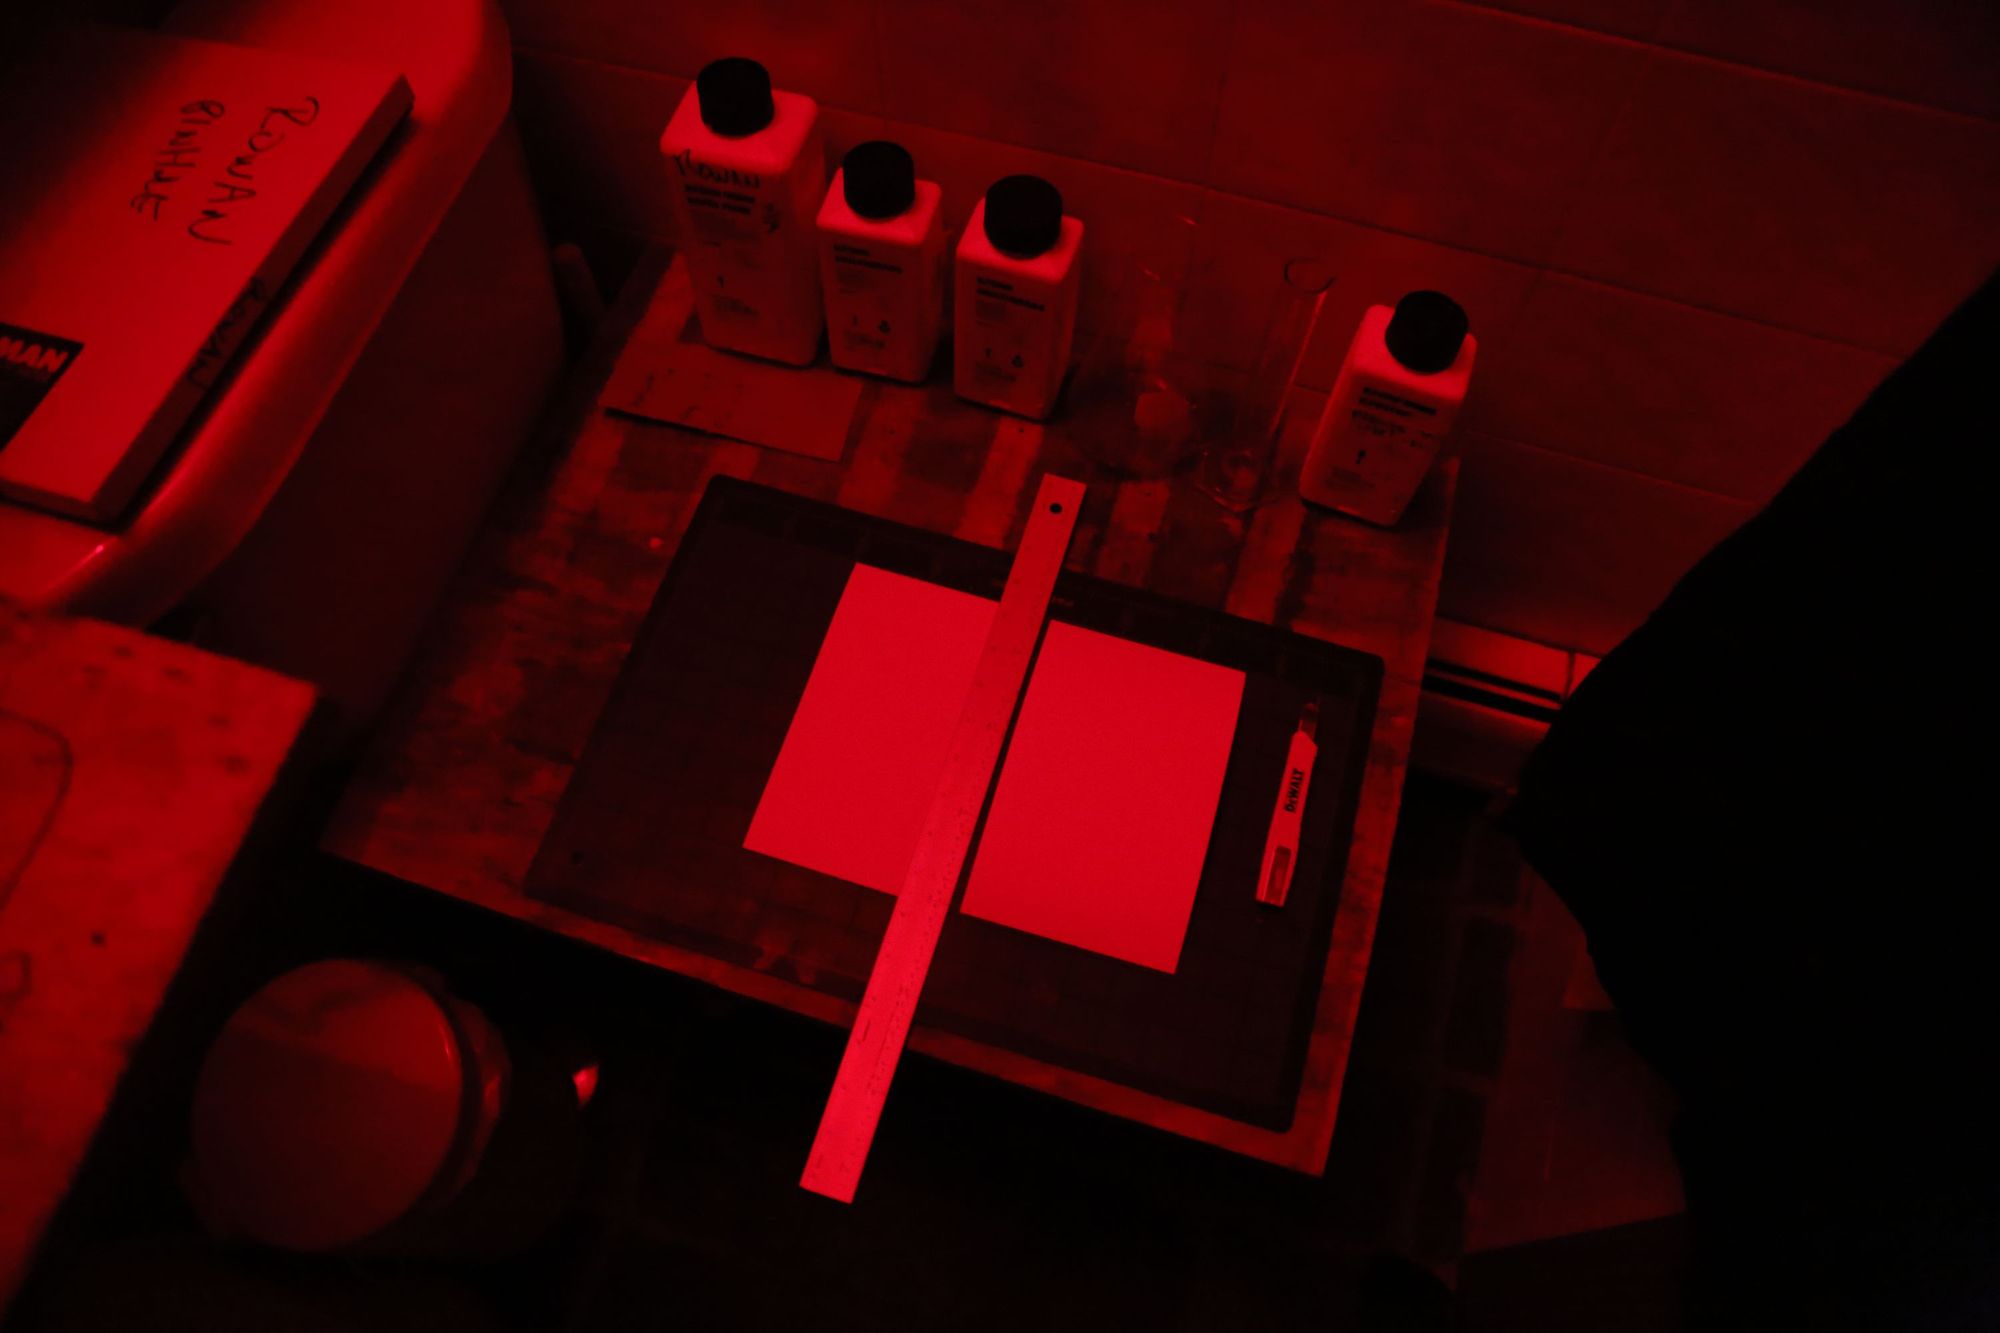
- Since you’ll be working with your bathroom light off, you’ll need a special work light. I use a basic cliplight from the hardware store with a red compact fluorescent (CFL) “party” bulb. A red or amber safe-light marketed to photographers will also work. The color temperature is important, but so is the overall brightness. You want the light to be as dim as it can be while still allowing you to see the detail of your prints. If it’s too bright, it may flash your paper. I recommend turning the bulb away from where you are working to diffuse it, or partially cover it with tin-foil. When you want to return to normal light to check out your developed prints, make sure all your unexposed paper is put away and flip on the bathroom light.
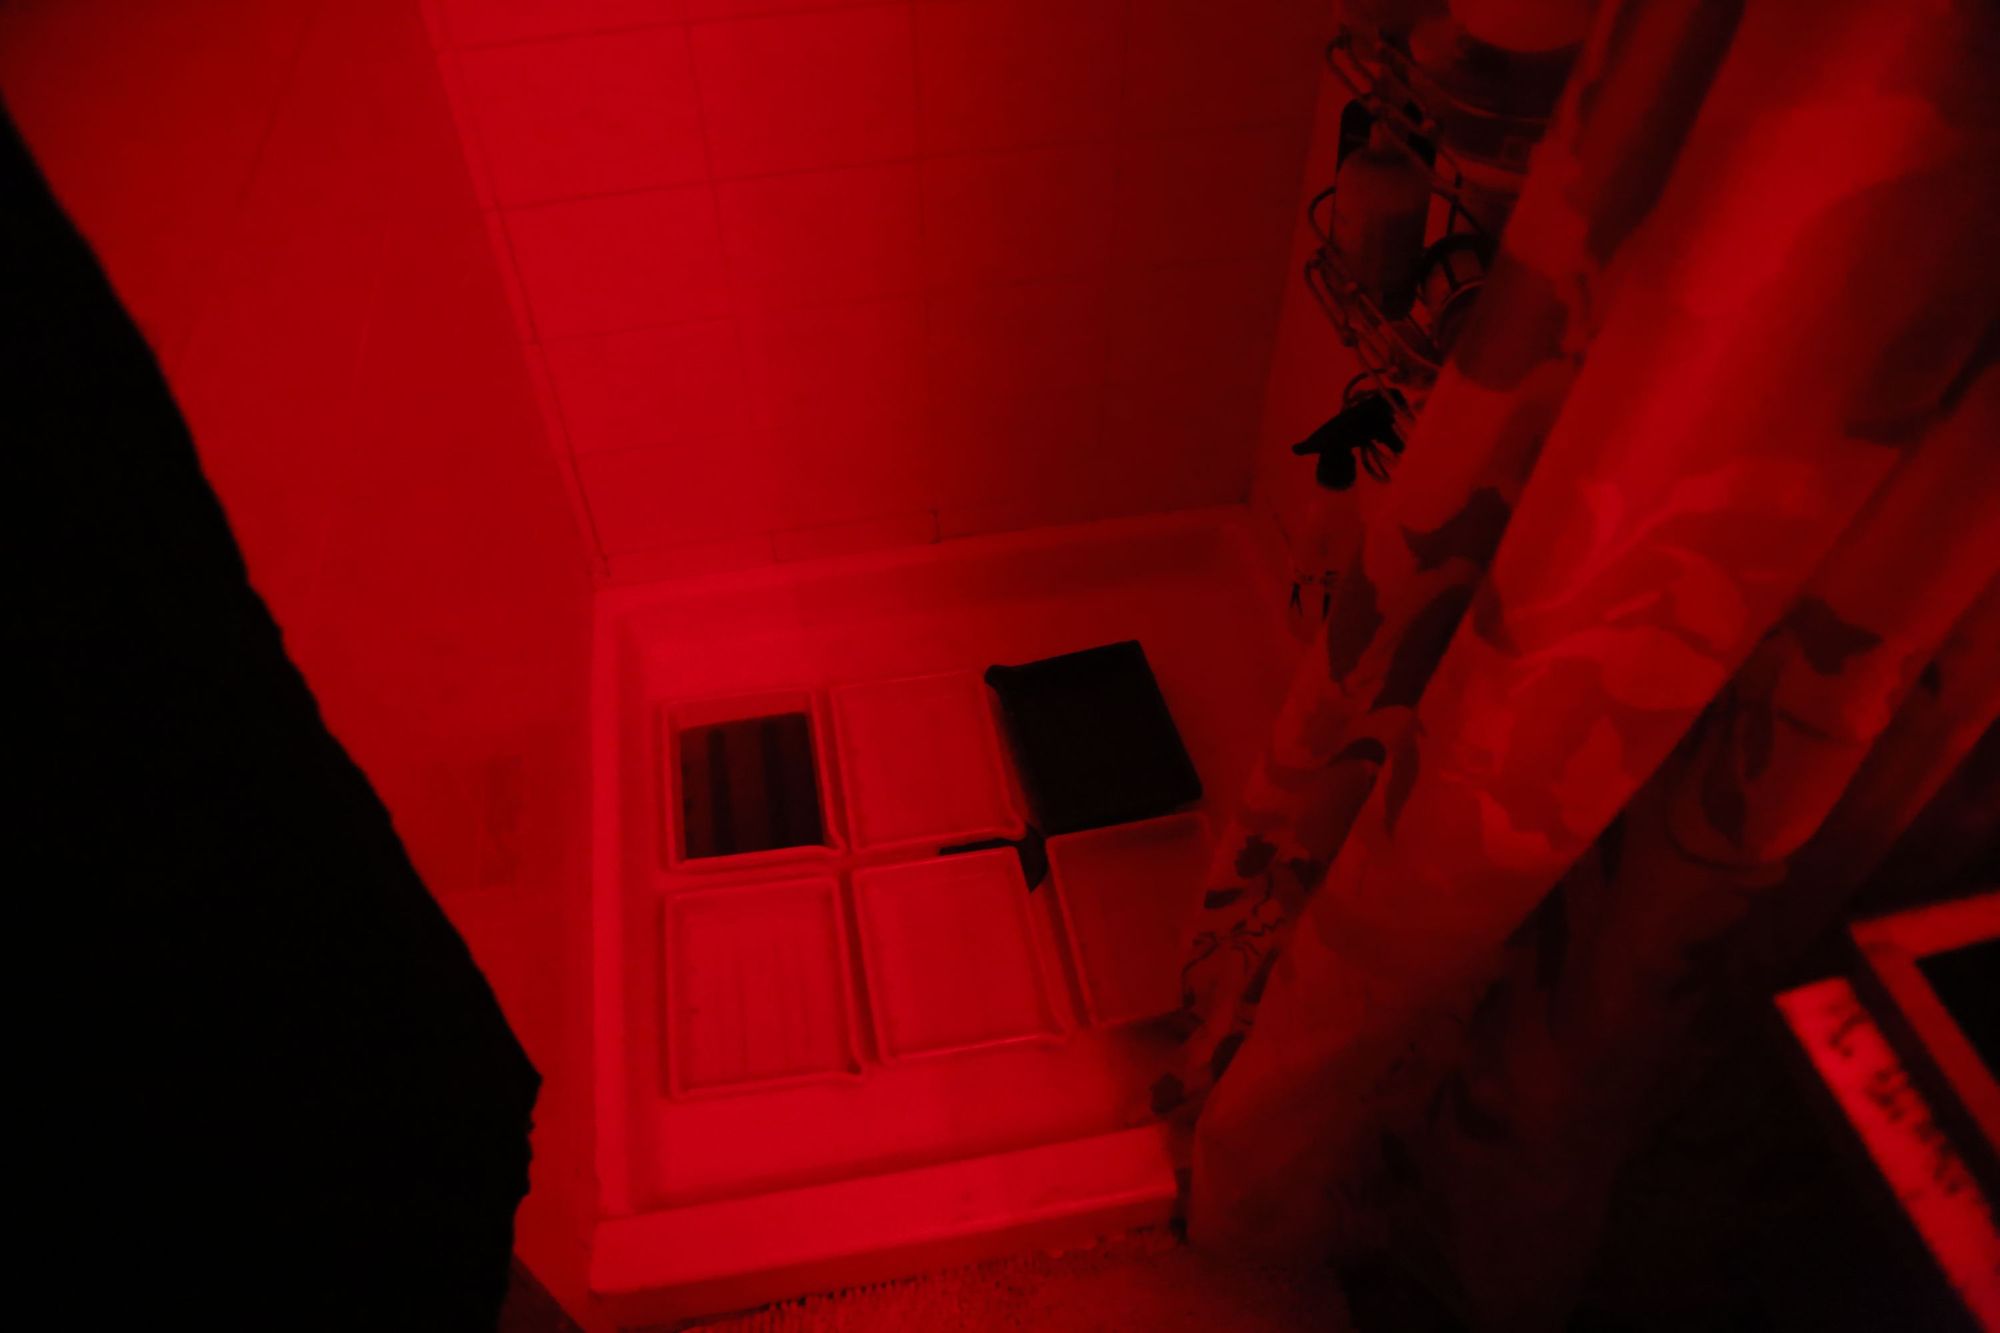
- Set up your print trays. I use the floor of the shower or bathtub, because this is the right size for all my trays, and it has built in drainage for any accidental spills. This means I work sitting or squatting, which can be uncomfortable for long periods of time. If this is an issue and space allows it, you can also consider creating a work surface with a board on top of milk crates that fits in your tub, or by using a small folding table.
- Mix your chemistry and fill your trays following the manufacturers specs. Remember that darkroom chemistry works best at 68 degrees fahrenheit. If you don’t have a thermometer, try to mix it so it feels slightly colder than room temperature, but not ice cold.
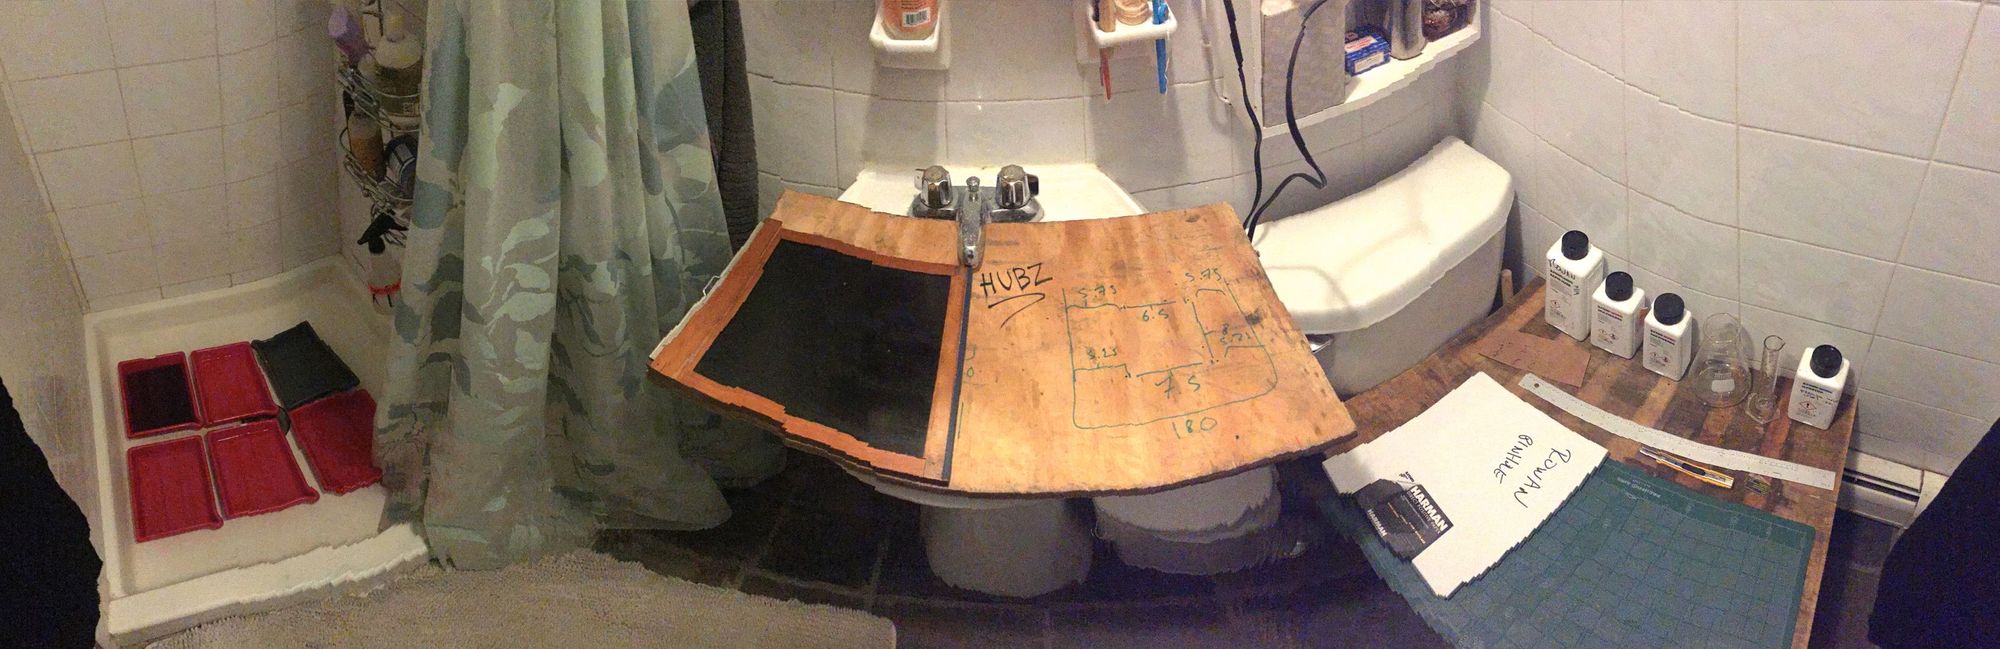
- Create a work surface for loading and unloading your photo paper. You can put a piece of scrap wood or cardboard over your sink to create a surface.
- Working with your safe-light on, cut the direct positive paper down to the desired size, and load it into your camera or contact printing set-up. Put away all extra paper in a light-tight container (back inside the box and black bag it came in works) before turning on the light.
- Leave the darkroom to expose your paper following manufacturers specs for exposure times based on your light conditions. Direct positive paper is ASA 3, so it requires substantially more light than most negative film. If you have access to outdoor space, sunlight is going to be the best light source to use with direct positive paper.
- Return to the darkroom to process your print.
- Once your print is out of the fixer bath, you can turn on the light to see your work.
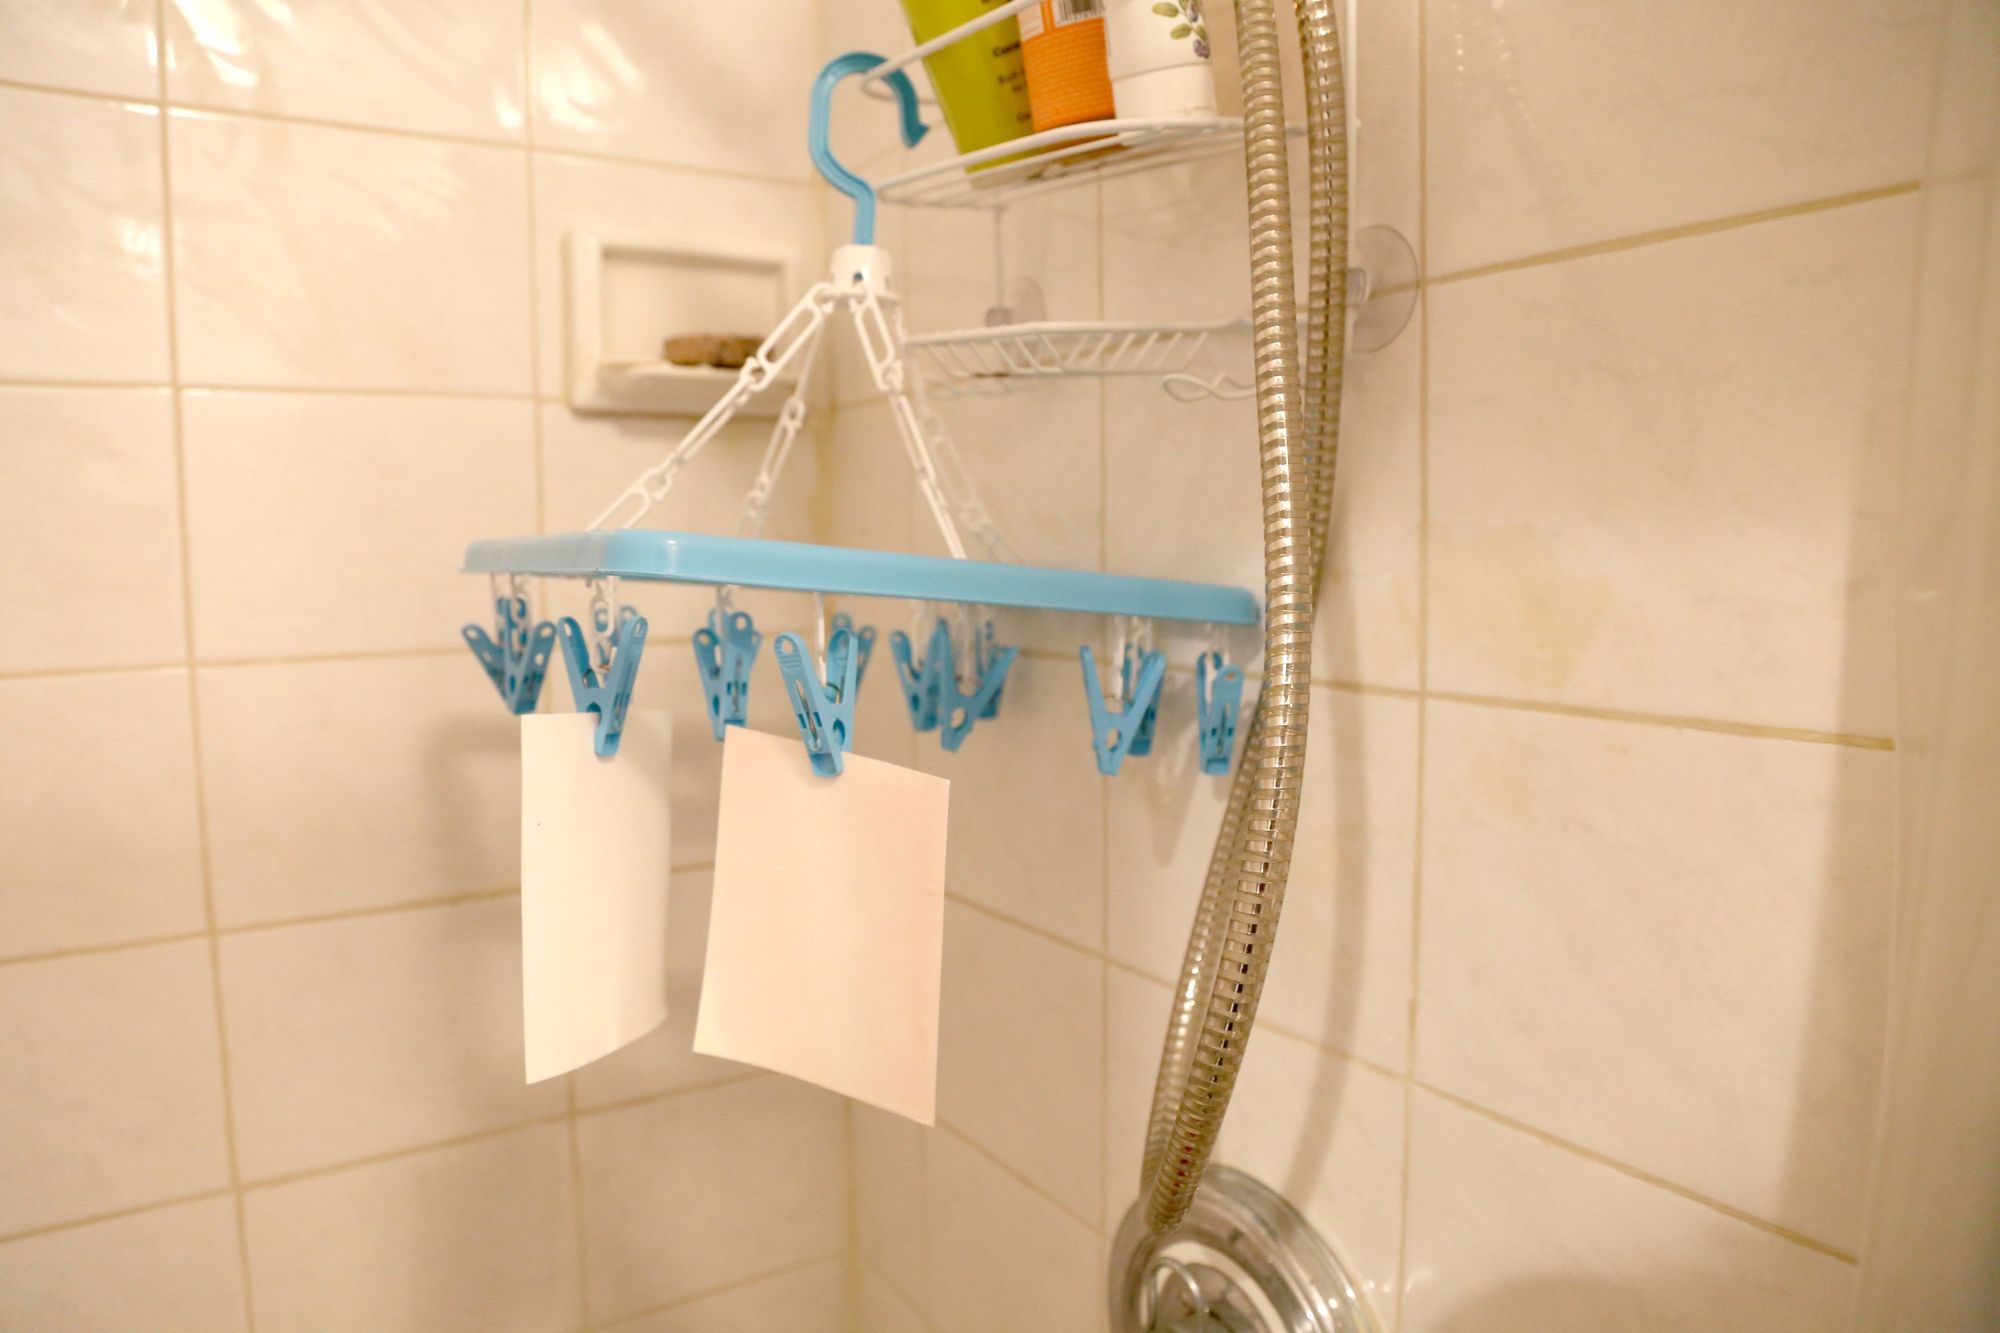
- After wash cycles are completed, hang your print to dry. I used a drying rack for delicates with built in clips, but you can also rig up your own line with clothespins and string.
- Harman is a Fiber-based paper, and it will curl as it dries. As an alternative to a dry-mount press, you can use a household iron (no steam) on the back side to flatten your print.
Subscribe to Broadcast